Creating from ISOs
How to use ISOs to install macOS on your virtual machines with the Orka CLI.
Intel Nodes Only
This guide is applicable to VMs deployed on Intel nodes only. Read more about Apple ARM-based Support to see which commands and options are supported for VMs deployed on Apple ARM-based nodes.
This page discusses ISO workflows in the Orka CLI. For more information about ISO workflows with the Orka API, see Orka API Reference: ISOs.
On this page, you will learn how to:
- List, pull, and upload ISOs.
- Create a VM with an empty base image and an attached ISO.
- Install macOS from ISO on a bare VM.
- Create a bootable base image from a VM.
ISOs are files used for installing macOS to VMs.
The quick reference workflow here is:
Quick command summary
orka iso [list / list-remote / pull / upload]
orka image generate [specify HD size]
orka vm create [attach ISO]
[Commands to Install the MacOS]
orka image save
1. Get ISO
To use an ISO, it must be available in the local storage of your Orka environment. To add ISOs to the local storage, you can pull them from the remote repo (maintained by MacStadium) or you can upload an ISO yourself.
- Check what ISOs are available in the local storage of your Orka environment.
orka iso list
- If you want to pull an ISO from the remote repo maintained by MacStadium, run the following commands. The
pulloperation might take a while.
orka iso list-remote

orka iso pull -i <CURRENT_NAME> -o <NEW_NAME> -y

- If you want to upload an ISO, run the following command. This operation might take a while.
orka iso upload -i <PATH_TO_LOCAL_ISO> -y
The CLI will prompt you to specify a file path to the ISO on your local machine. Provide a fully qualified file path.
2. Create an empty base image
The default base images provided in your Orka environment are bootable disks with macOS installed. To use an ISO, you need an empty disk.
To generate an empty disk of a preferred size (in G for gigabytes or T for terabytes), run the following command. Make sure to specify the .img file extension when prompted to provide a name.
orka image generate --image <NAME.img> --size <SIZE> -y
Make sure that the size of the empty disk meets the installation requirements of the OS on the ISO.

TIP: Forgot to add .img in your file name?
Run the following command and provide the missing file extension.
$ orka image rename --image <CURRENT_NAME> -o <NEW_NAME>

3. Create and deploy your VM
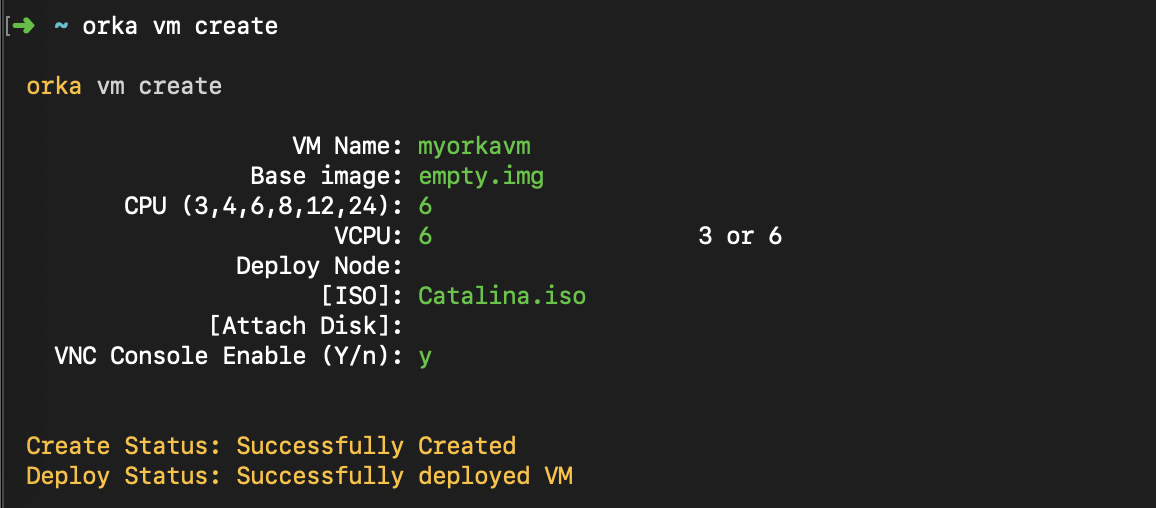
Create and deploy your VM. When prompted, provide the required information and set the base image to your empty disk, and [ISO] to the ISO that you want to use.
orka vm create

OR

orka vm create -v <NAME> -b <IMAGE> -c <CPU_COUNT> -C <vCPU_COUNT> -i <ISO> -y
4. Connect to the VM via VNC
Once the ISO is attached to the VM, you can connect to your VM and complete the ISO installation.
- Get the VM's IP and VNC port.
orka vm list

- Use your preferred VNC client to connect.
5. Format the disk and install the ISO
Orka generates unformatted empty storage. To install the OS from the attached ISO, you need to format the disk first.
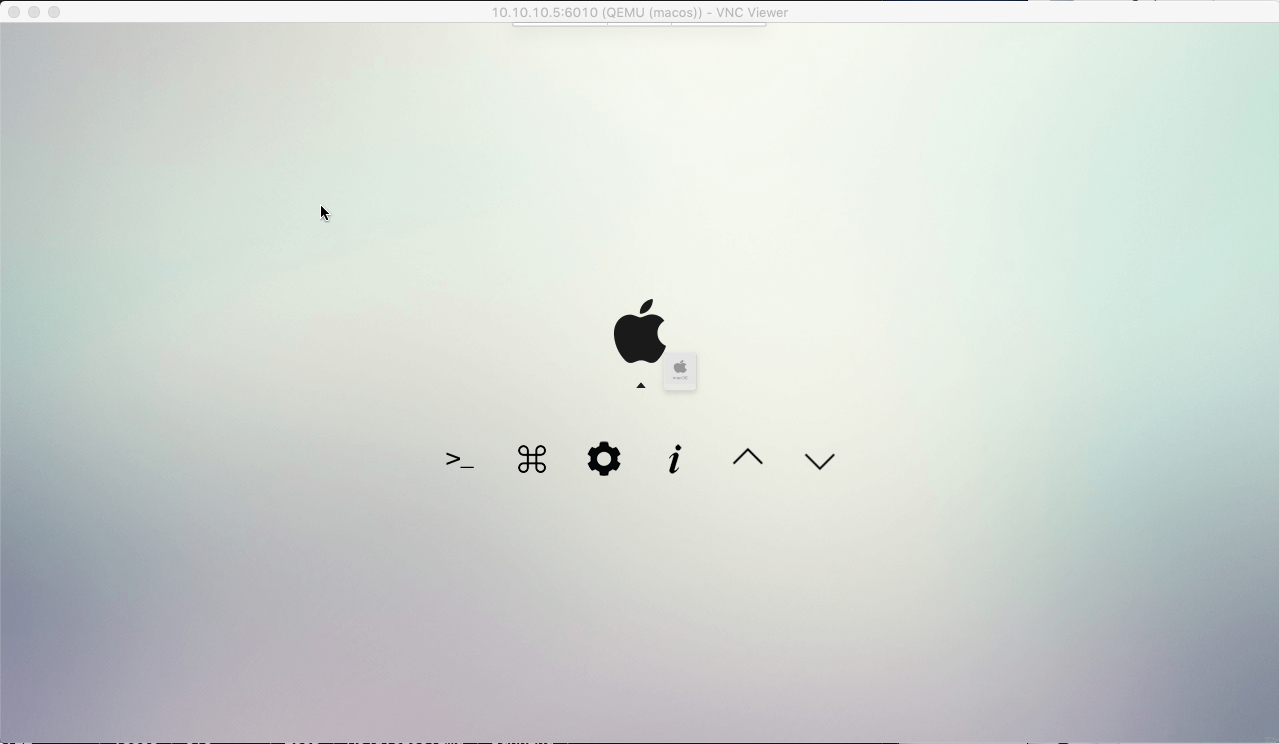
- On this screen, press
Enterto prompt the boot-up.
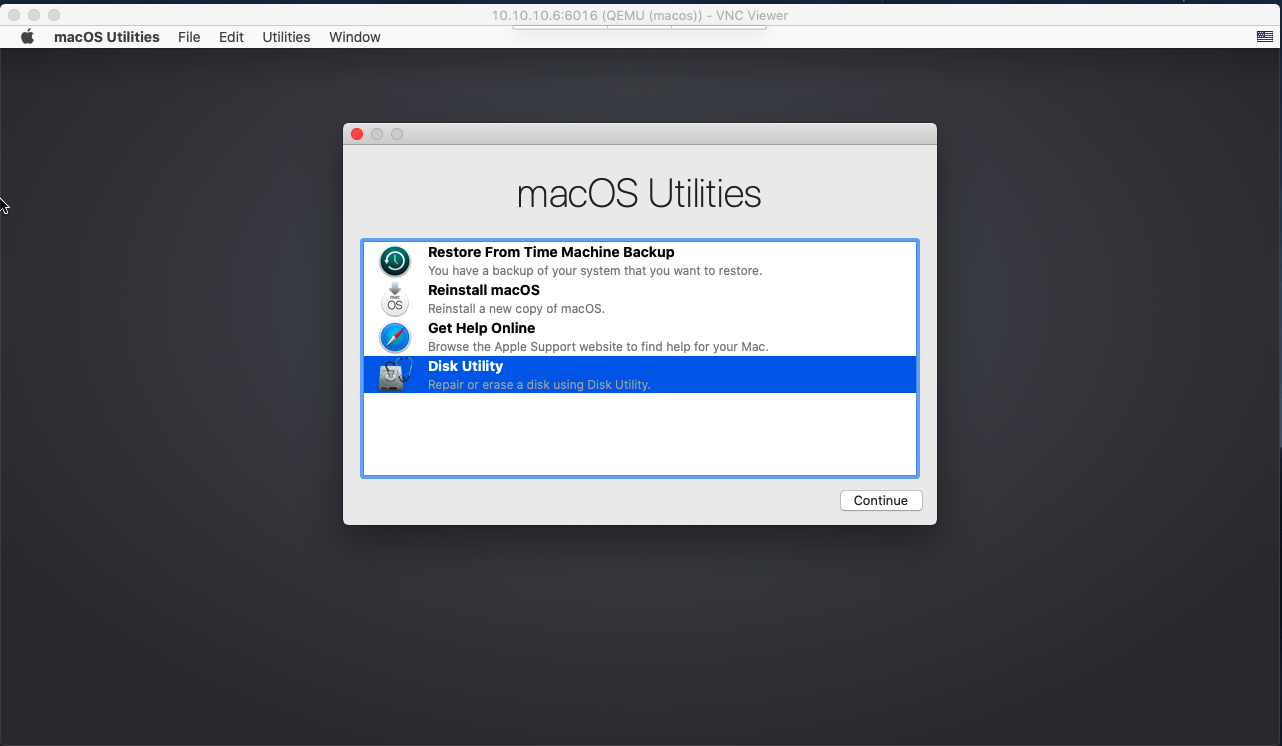
- Follow the prompts until you reach the macOS Utilities. Select Disk Utility and click Continue.
- In the left sidebar, locate the following disk and click Erase.
- When I/O boost is enabled (on Catalina or later), select Apple Inc. VirtIO Block Media.
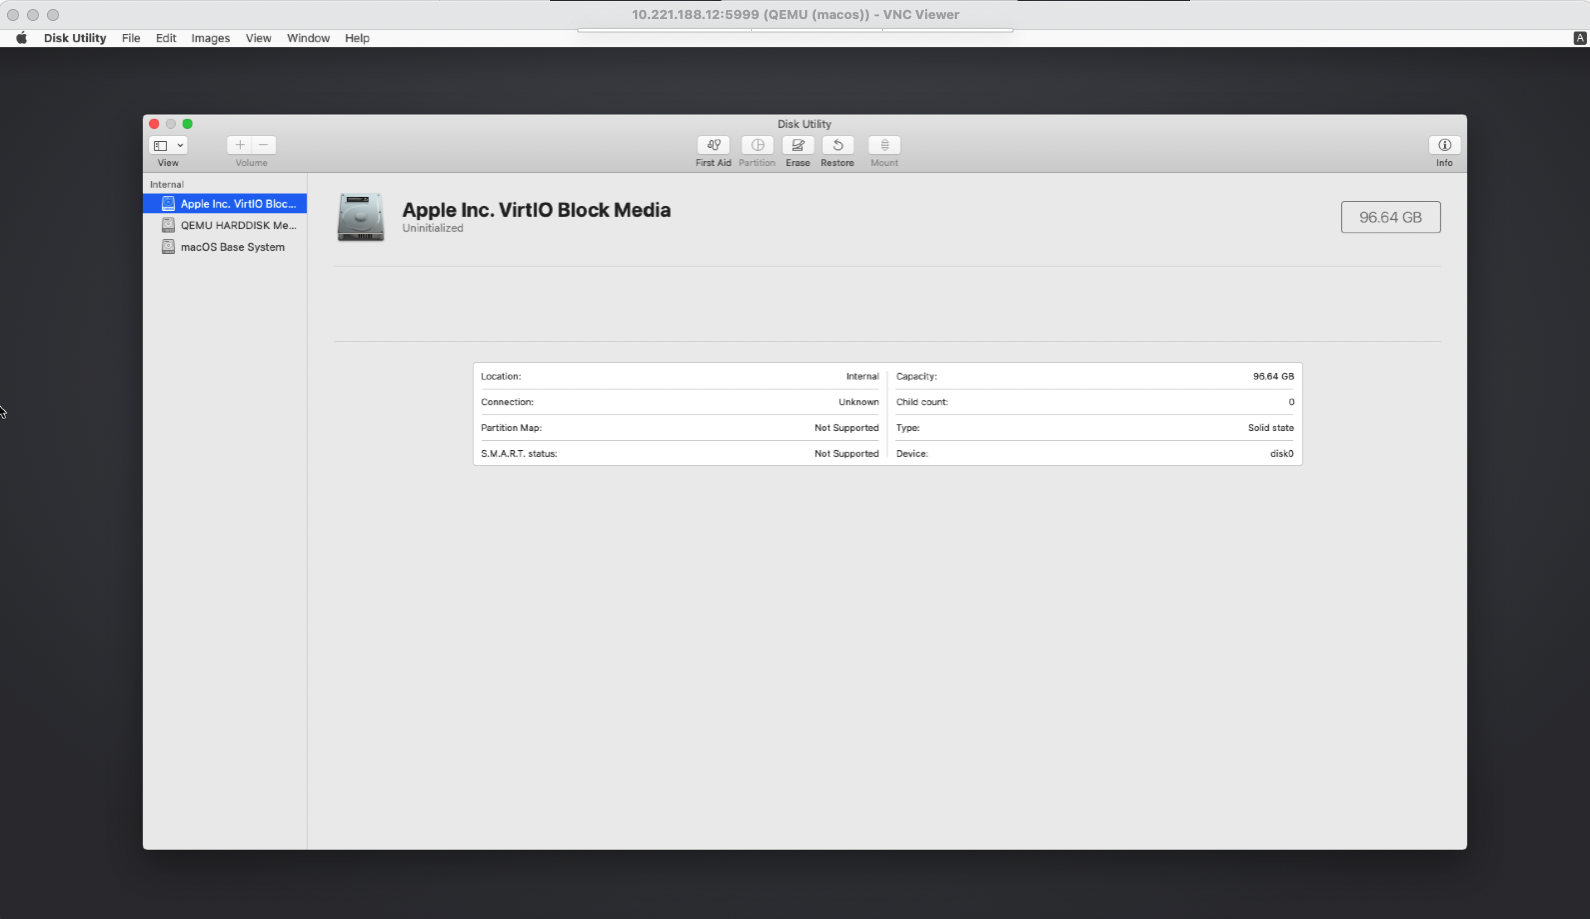
- Otherwise, I/O Boost is disabled or the OS version does not support it. Select QEMU HARDDISK Media with the largest disk size.
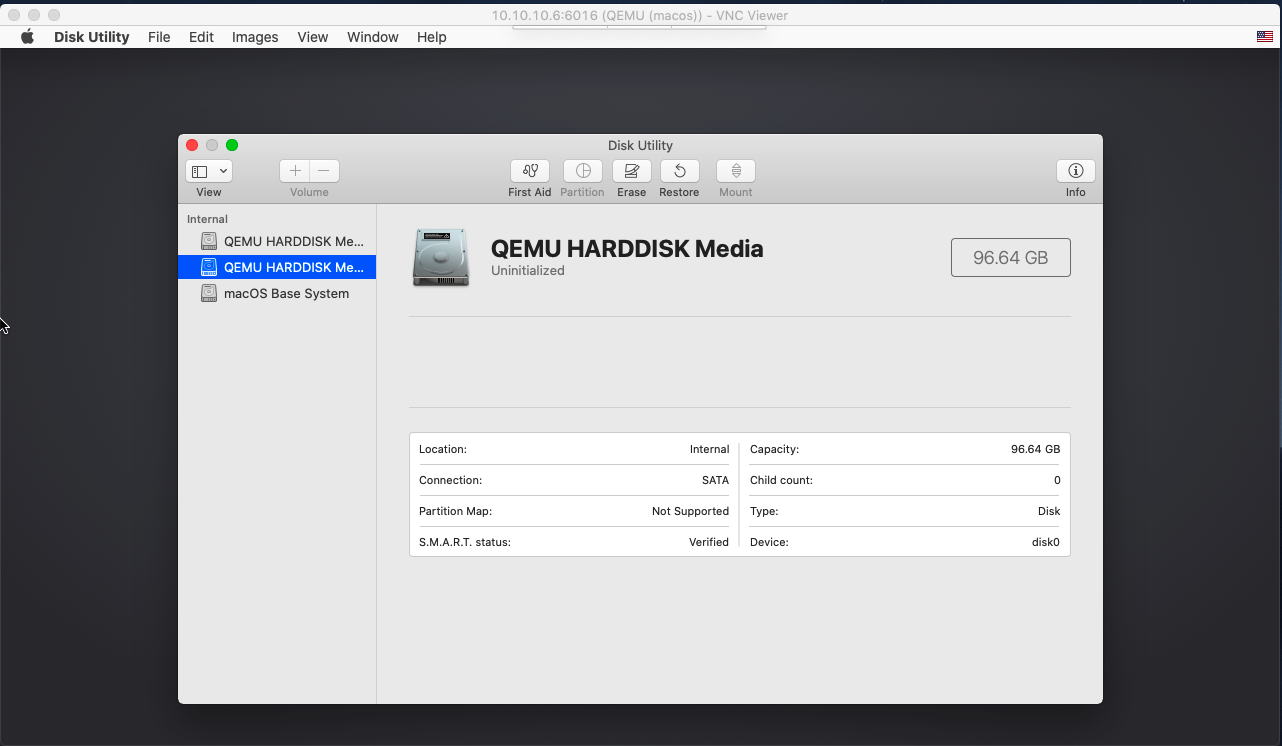
- Fill in the required configuration.
- Name: Set to Macintosh HD. This ensures that macOS can auto-boot from that disk.
- Format: Set to Mac OS Extended (Journaled) or APFS for Mojave.
- Scheme: Set to GUID Partition Map.
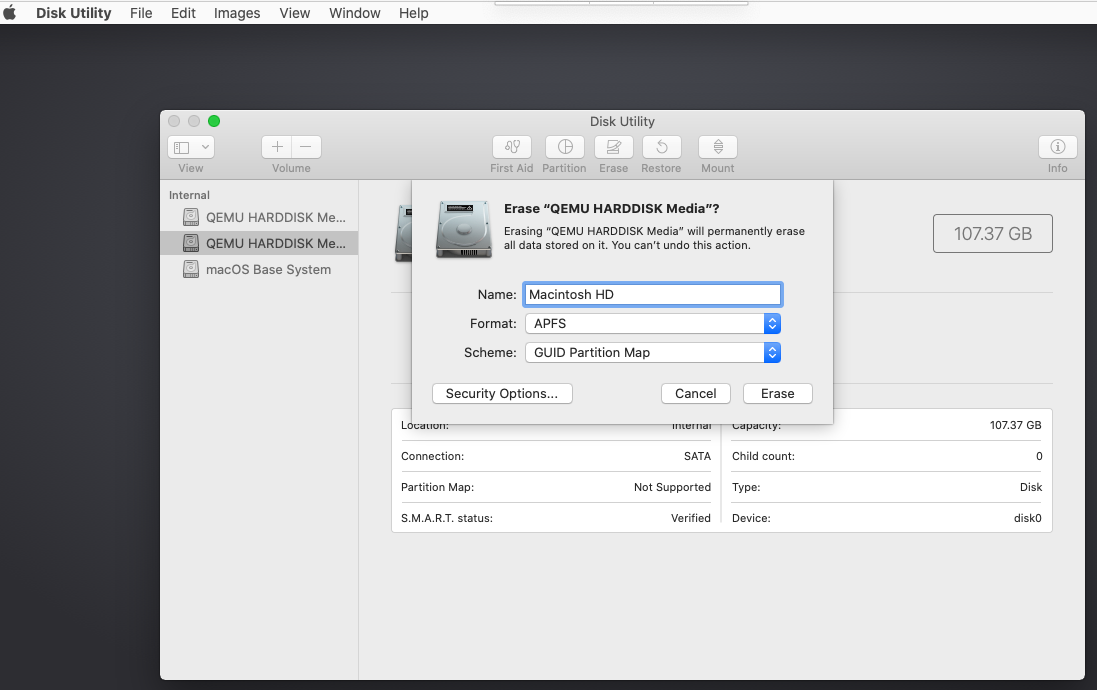
- Click Erase and wait for the operation to complete. Click Done.
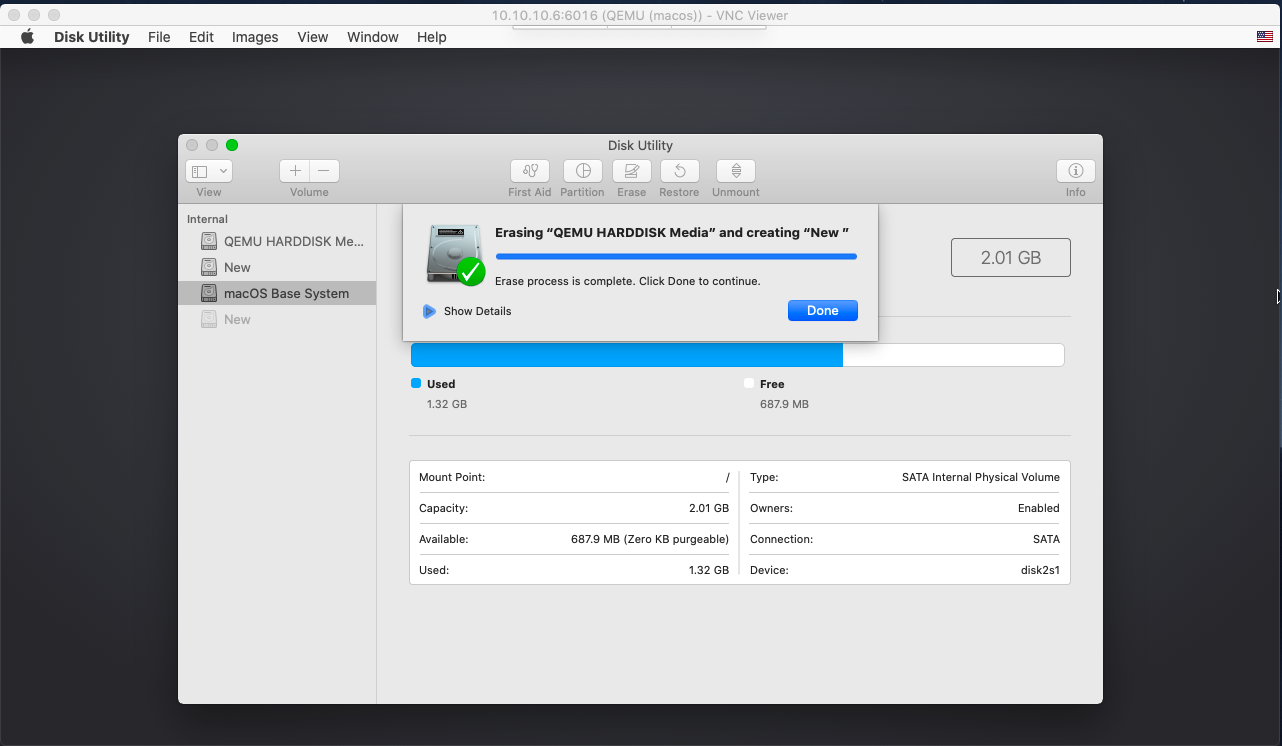
- Return to the macOS Utilities screen, select Reinstall macOS and click Continue.
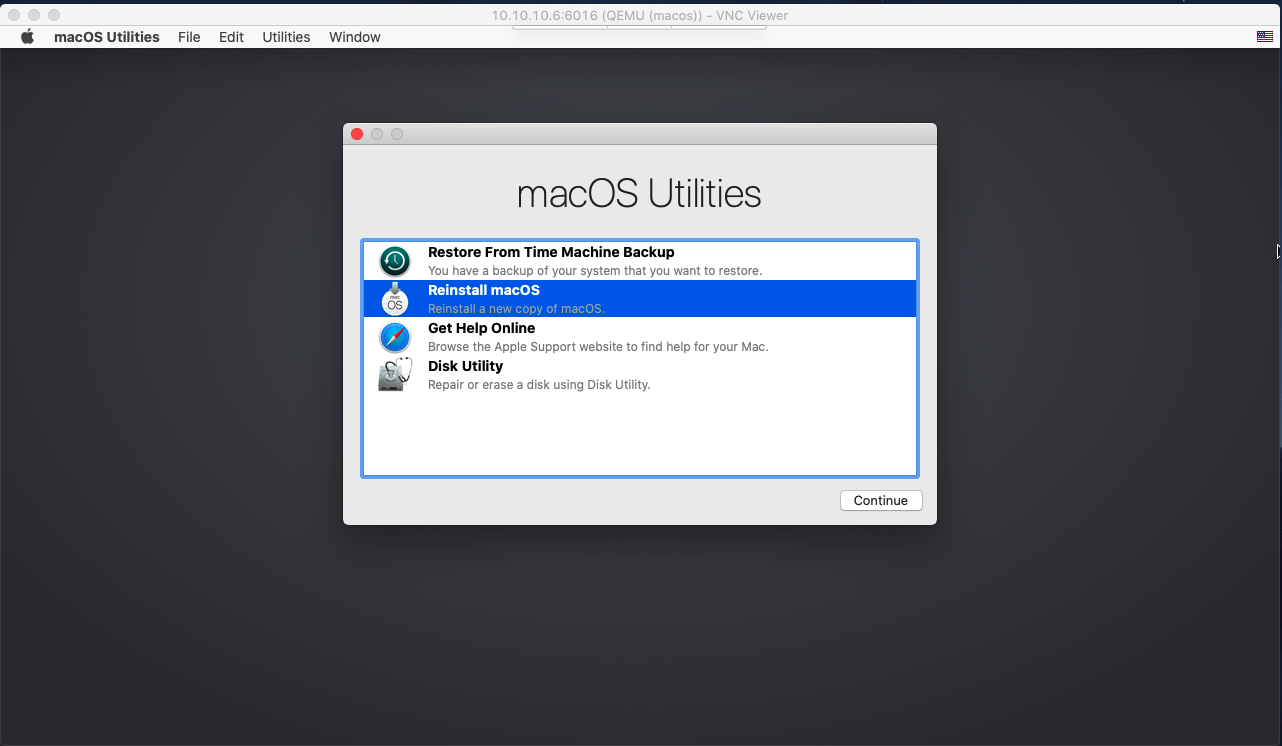
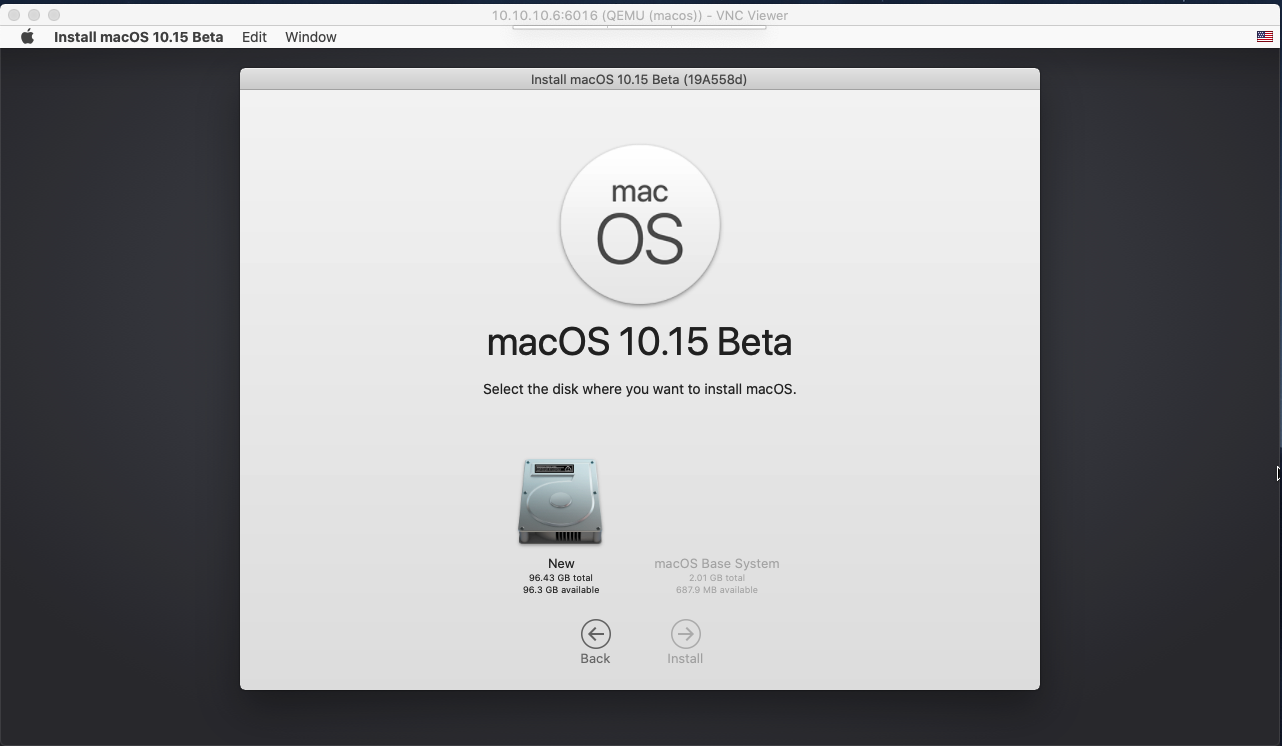
- Accept the license agreement, select the new drive and click Install.
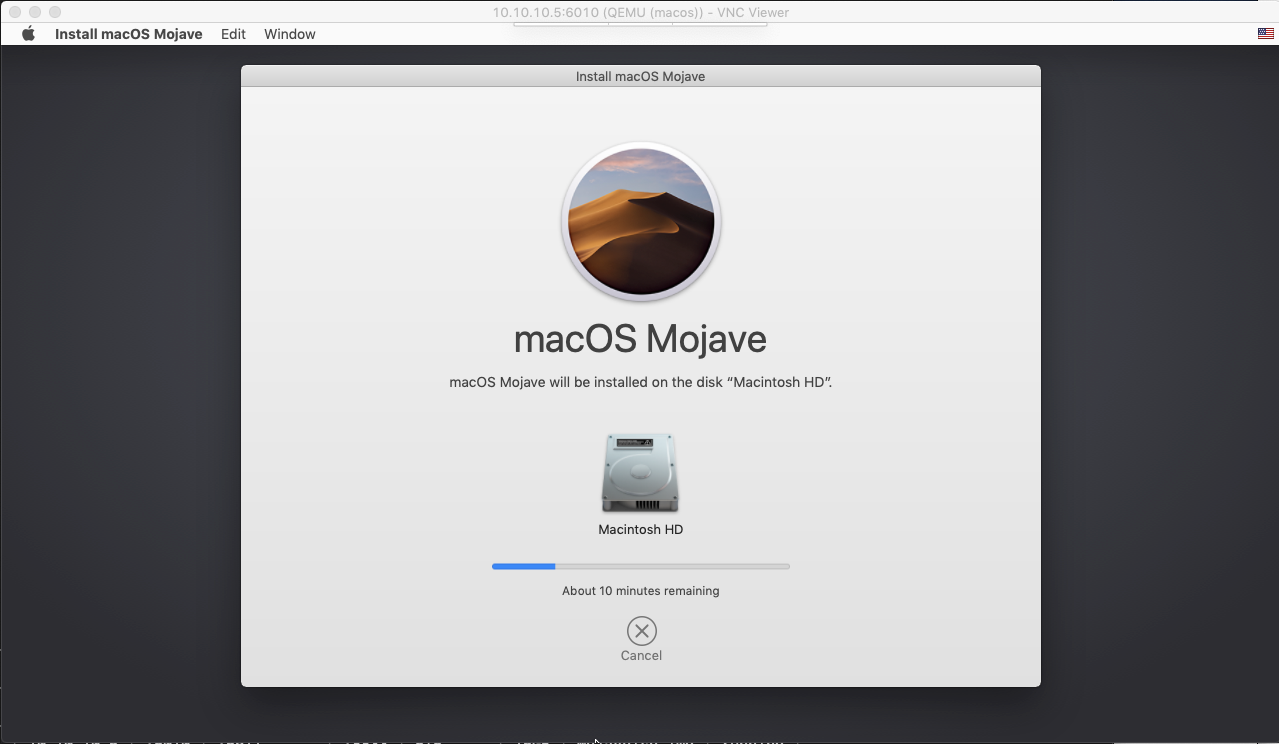
- Complete the installation.
6. Create a new base image from the newly installed VM
If you want to create a bootable base image that you can use with other VM configurations, you can save the newly installed VM as a new base image.
- Get the VM ID. Replace
<vmName>with the name of your VM.
orka vm status -v <NAME> -y
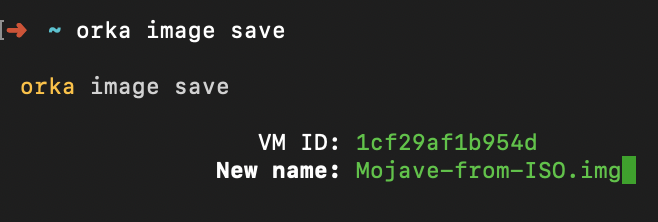
- Save the VM as a new base image. The name you specify must be unique.
orka image save -v <VM_ID> -b <IMAGE.img> -y
Updated almost 2 years ago
