Orka Engine 3.0 User Guide
Overview
Orka Engine provides macOS virtualization via a Command Line Interface (CLI) on individual macOS hosts. It can automate the deployment and management of VMs on macOS computers running anywhere (i.e. a local laptop or desktop, an on-prem data center, AWS, or MacStadium Bare Metal Macs), supporting the ability to run VMs based on different images.
Key Concepts
- A host (or node) is a physical computer with a host macOS and an installation of Orka Engine.
- An image is the bits on disk representing a VM that can be used for saving state and sharing.
- MacStadium base VM Orka images are macOS OCI compliant VM images stored in our public GitHub registry ghcr.io/macstadium/orka-images/ with user credentials user/pwd: admin/admin, have Homebrew package manager installed, orka-vm-tools installed, and have screen sharing enabled and SSH access enabled.
- A VM is a virtual runtime on top of the macOS host. The VM runs a guest OS image and macOS supports up to 2 running VMs per host.
- An IPSW file is a file format from Apple that can install a version of macOS.
- Orka Engine is installed on a node, and a CLI is used to interact with the system. Orka Engine stores images in a defined directory, and provides commands for interfacing with those images and starting or stopping VMs.
System Requirements
Apple M1+ with 16GB RAM and 512GB disk space. (MacStadium recommends 1TB disk space)
macOS X 13.0+ (Ventura)
Installation
Orka Engine requires macOS 13 (Ventura) and above and Apple Silicon ARM. To install Orka Engine, obtain the installer from the MacStadium Sales or Support team.
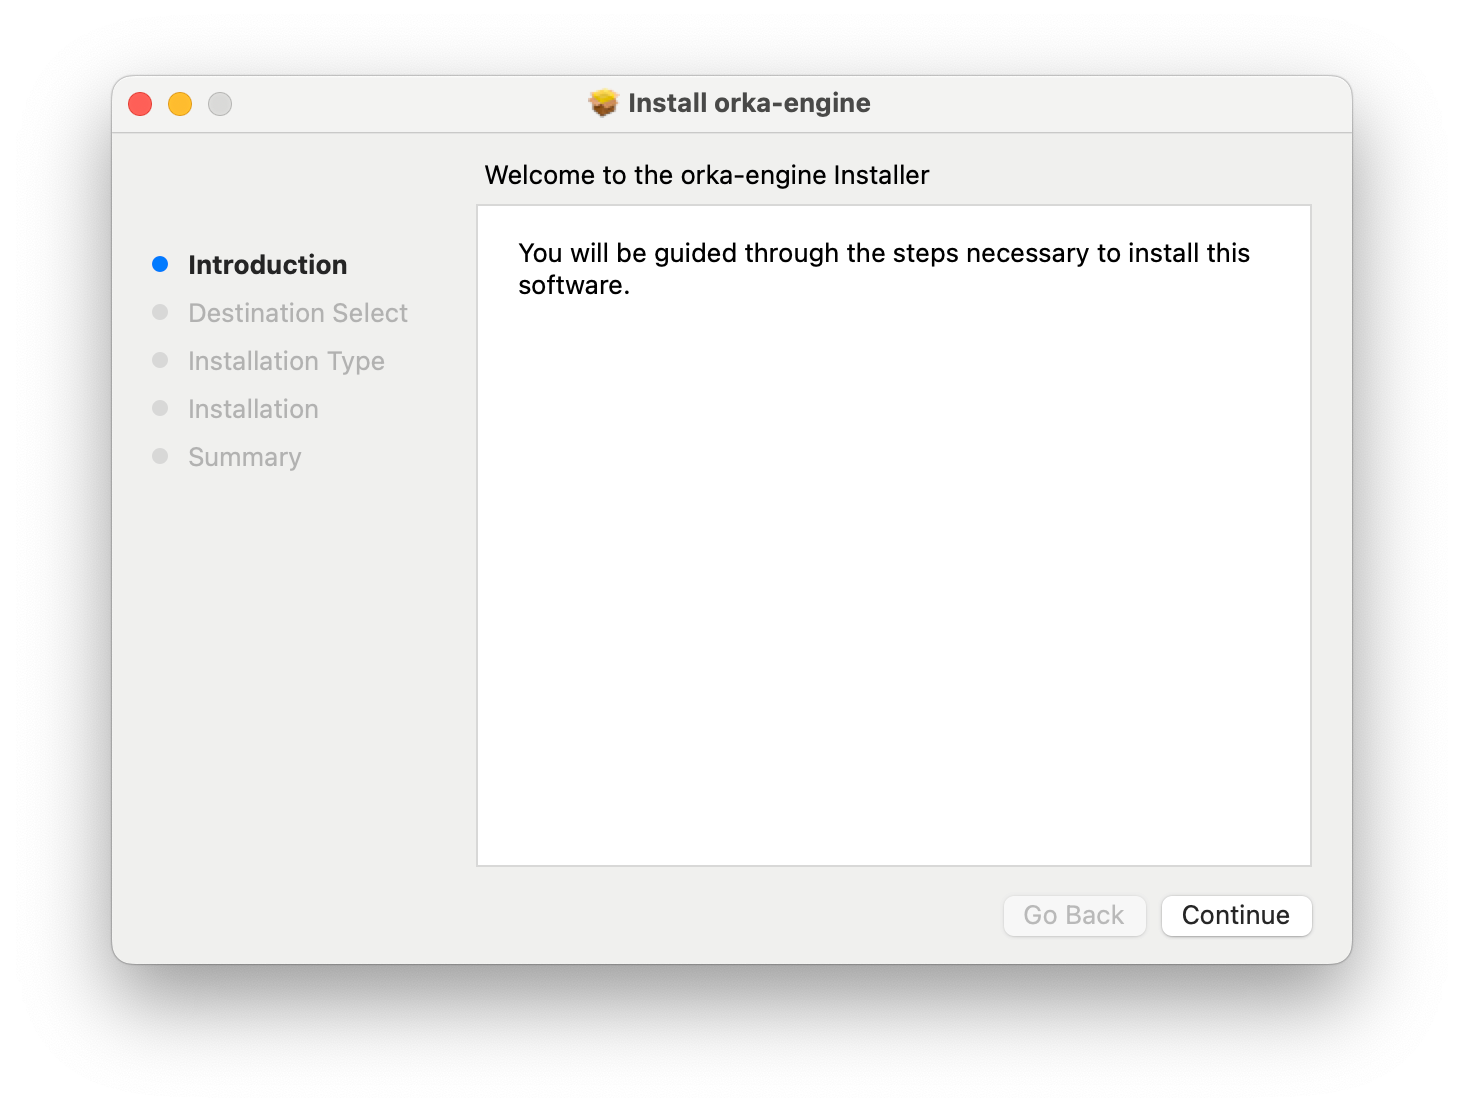
The Orka Engine installer is self-guided and takes less than a minute to install successfully. Simply double-click or right-click open the orka-engine.pkg file from the source download directory and follow the prompts.

Install Orka Engine 3.0

Orka Engine Icon
Getting Started
The following commands will quickly introduce basic features of the Orka Engine CLI including:
- Open Terminal
- Run
orka-engine --helpto see the CLI tree structure: commands, subcommands and options/flags - Run (deploy) a new VM based on Apple's latest IPSW file using
orka-engine vm run - List the VM and its status (running) with the
orka-engine vm list - Save that VM as an image using
orka-engine vm save - Listing images available on disk with
orka-engine image list - Stop a VM with ctrl-c in terminal window bound to running VM or by closing the Dock item
- Running a VM based on a hosted image from MacStadium using
orka-engine vm run- orka-engine vm run latest-sonoma --image GitHub
- Pulling remote images locally using
orka-engine image pull - Starting a VM in the stopped state with
orka-engine vm start - Pushing a configured CI/CD customized VM to a OCI container registry
orka-engine image push
Open Terminal
After Orka Engine is installed, open a terminal window. The command orka-engine is installed at /usr/local/bin/orka-engine - this should be in the $PATH for most users by default.
Using orka-engine --help
The orka-engine --help command lists the three subcommands, vm to manage VMs, image to manage images, and host to see information about the host.
orka-engine vm --help provides a list of operations that can be taken on VMs, such as run, list, save, and start.
orka-engine vm run --help provides details on all the options that can provided when taking the vm run operation.
Running a VM Based on the Latest IPSW File
NOTE
Orka Engine can download the latest IPSW and start a VM with a hard disk of 90 GB.
To get started with Orka Engine, run the first VM. If there is no locally stored image, then the quickest way to get started is to use the most recently published IPSW files. Orka Engine has a built-in ability to download the latest IPSW and start a VM with a hard disk of 90 GB using the following command:
orka-engine vm run latest-ipsw --ipsw latest --disk-size 90

NOTE
orka-engine vm runis a blocking function. Open another terminal to interface with orka-engine for other functions while the VM is running.
Common Options when Running a VM
Orka Engine provides a number of options to control the VM runtime, including specifying CPU, memory, disk, and display details.
If no options are provided, then defaults are used.
The following example sets CPU allocation of 4, memory allocation of 8GB, and display resolution settings for 4K with a 23” display (3840 x 2160, DPI=185):
orka-engine vm run sonoma-base-4k --ipsw latest --disk-size 90 --cpu 4 --memory 8192 --display-width 3840--display-height 2160 --display-dpi 185
Another common option is to run headless, and Orka engine provide an option:
orka-engine vm run sonoma-base --image latest-ipsw --disable-graphical-console sonoma-fix
Listing Current Running VMs
Orka engine can list the name and resource consumption of VMs are currently running or stopped on a local host
orka-engine vm list

Saving a VM as an Image
To configure the VM with different macOS settings, install dependencies or tools, or configure a bug reproduction environment. Save the current state of a running VM as an image, as long as the VM name is available (see orka-engine vm list command for the VM name).
For example, orka-engine vm save latest-ipsw sonoma146-vanilla saves the VM called latest-ipsw as an image with the name sonoma146-vanilla

Listing Images Available on Disk
Orka Engine lists the images that are available on the local host. These images are used for starting a new VM immediately.
orka-engine image list

Stopping a VM
Stop a VM with ctrl-c or via the UI window menu -> Quit.
Running a VM Based on a MacStadium Hosted Image
MacStadium hosts a number of Sequoia, Sonoma, and Ventura images on https://github.com/macstadium/orka-images/ In orka-engine vm , specify an --image option to be the URL of an image coming from an OCI registry,
orka-engine vm run sonoma-latest --image ghcr.io/macstadium/orka-images/sonoma:latest

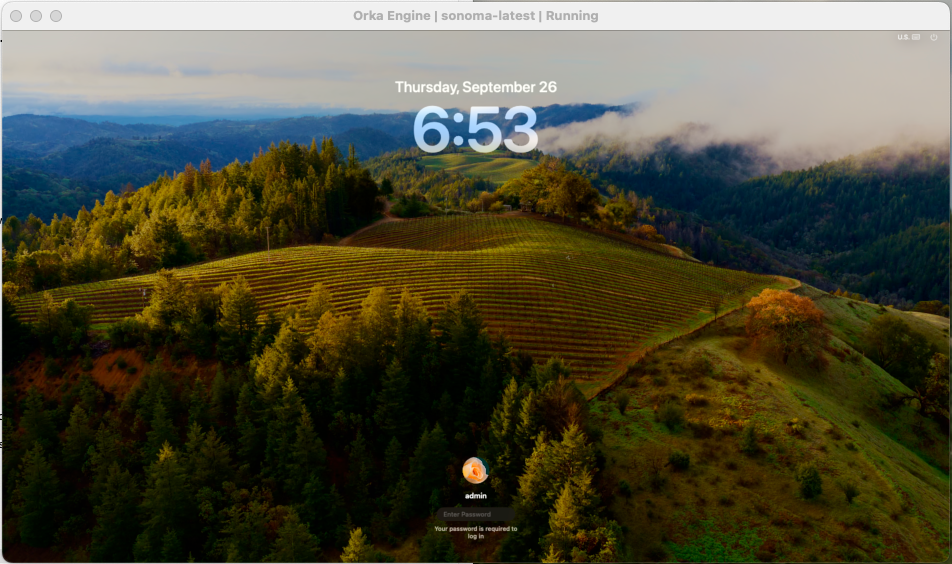
- Once the GUI starts up, the credentials are admin/admin.

GUI Start Up
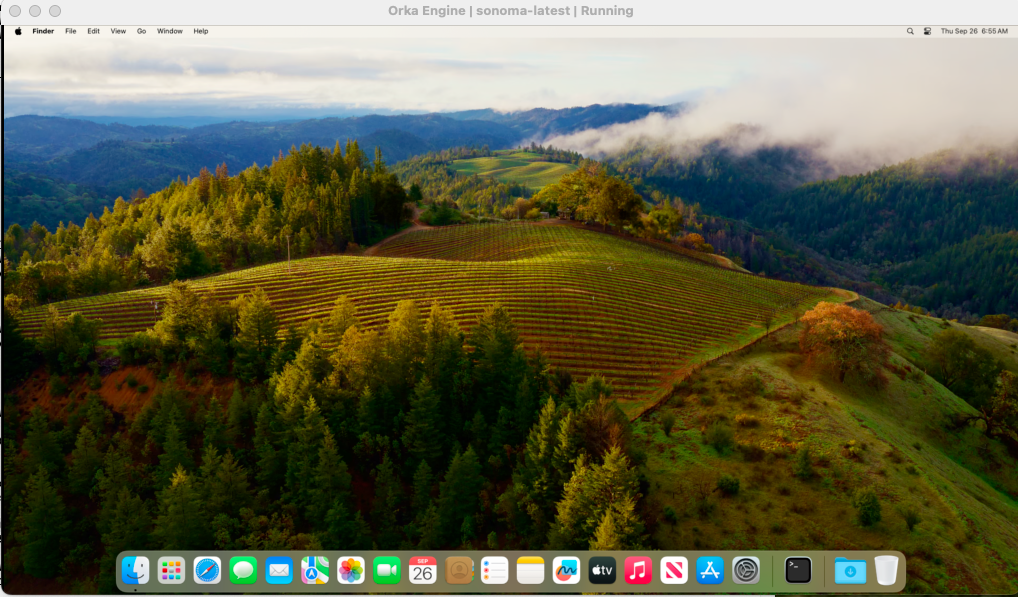
- Once logged in, the VM is ready for use or additional software and tools installation.

VM Ready
Reviewing Current List of VMs (in VMs orka-engine)
It is now possible to start a second terminal and run orka-engine vm list, and the following output appears, (which indicates that the previously running latest-ipsw VM has been stopped), and the recent sonoma-latest is now running.

Once VMs are in a stopped state, they can either be:
- left in a stopped state
- started with the orka-engine vm start
- deleted with the orka-engine vm delete commands
NOTE
To retain these changes, make sure to use
orka-engine vm save.
Starting a VM from the Stopped State
If the VM latest-ipsw is stopped in the above example, then it can be started again with the following command: orka-engine vm start
Deleting a VM
If the VM Latest-ipsw is stopped in the above example, then it can be deleted with the orka-engine vm delete <vm--name> command.
Pulling Remote Images Locally
In previous examples, orka-engine vm run was used to both pull (or download) a remote image to the local device and to run vm. There are cases where users may just want to download an image, and orka-engine image pull supports this.
orka-engine image pull ghcr.io/macstadium/orka-images/ventura:no-sip

When the images pull is complete, it is available in orka-engine image list and usable with orka-engine vm run --image <imagename>.
Pushing local Images to Registry
If the previously run sonoma-latest image has been modified and saved with the necessary CI tools, then it can image can be shared with team members by storing it on the team OCI repo and naming it sequoiaCI; on the repo, use the orka-engine image push command.
NOTE
The default local Orka Engine VM image files system path is /Users/<host_username>/.local/share/orka/data/ where the host_username is admin in this example and the container registry is ghcr.io and the repo credentials are username=dev1 and password=repo.
orka-engine image push --username dev1 --password repo /Users/admin/.local/share/orka/data/sonoma-latest ghcr.io/images/sequoiaCI:latest
Updated 9 months ago
