VNC to a VM
How to connect to your VM via VNC.
Orka 2.4.x content
This page has not been updated to reflect the changes introduced in Orka 3.0. Some of the information might be outdated or incorrect. Use 2.4.x to 3.0.0: API Mapping and 2.4.x to 3.0.0: CLI Mapping to figure out the correct endpoints and commands.
If you need to log into a deployed virtual machine, you can do it via VNC. This page discusses the VNC workflow in the Orka CLI. For more information about the VNC workflow with the Orka API, see Orka API Reference.
Quick command summary
orka vm status
orka vm start
orka image [commit / save]
Limitations
Connection via VNC is available only for Orka macOS VMs.
You cannot use the built-in VNC capabilities with:
- Orka nodes
- K8s pods
- non-macOS VMs
Prerequisites
- Connect to the VPN.
All MacStadium environments sit behind a Cisco firewall. To reach your cloud environment, you need to connect to it via VPN. - Make sure that you have a VNC client installed on your machine. For example, you can use Apple Screen Sharing on macOS, or download a third-party client such as RealVNC or VNC Viewer.
- Create and deploy а VM with an enabled VNC Console.
1. Get the VM's IP and VNC port
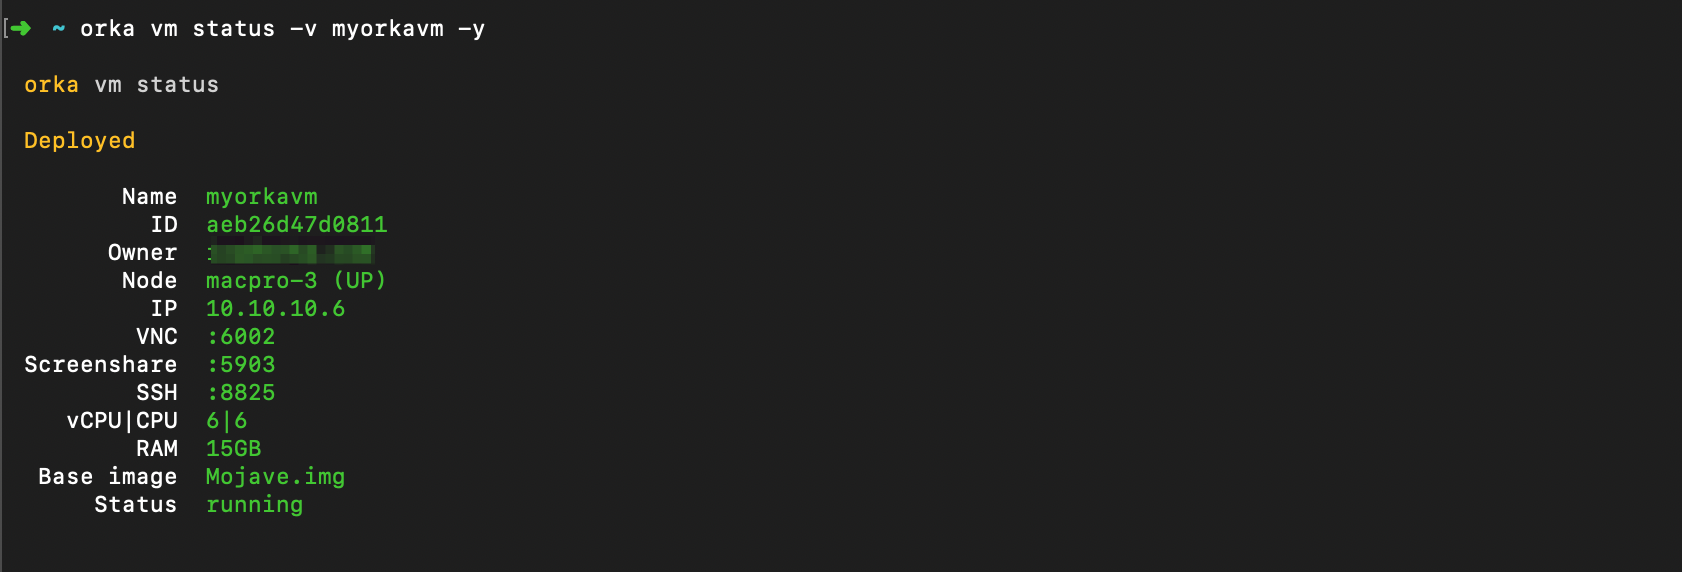
To establish a VNC connection to your VM, you first need to get the VM's IP and VNC port:
orka vm status -v <NAME> -y
Replace <VM NAME> with the name of your VM.
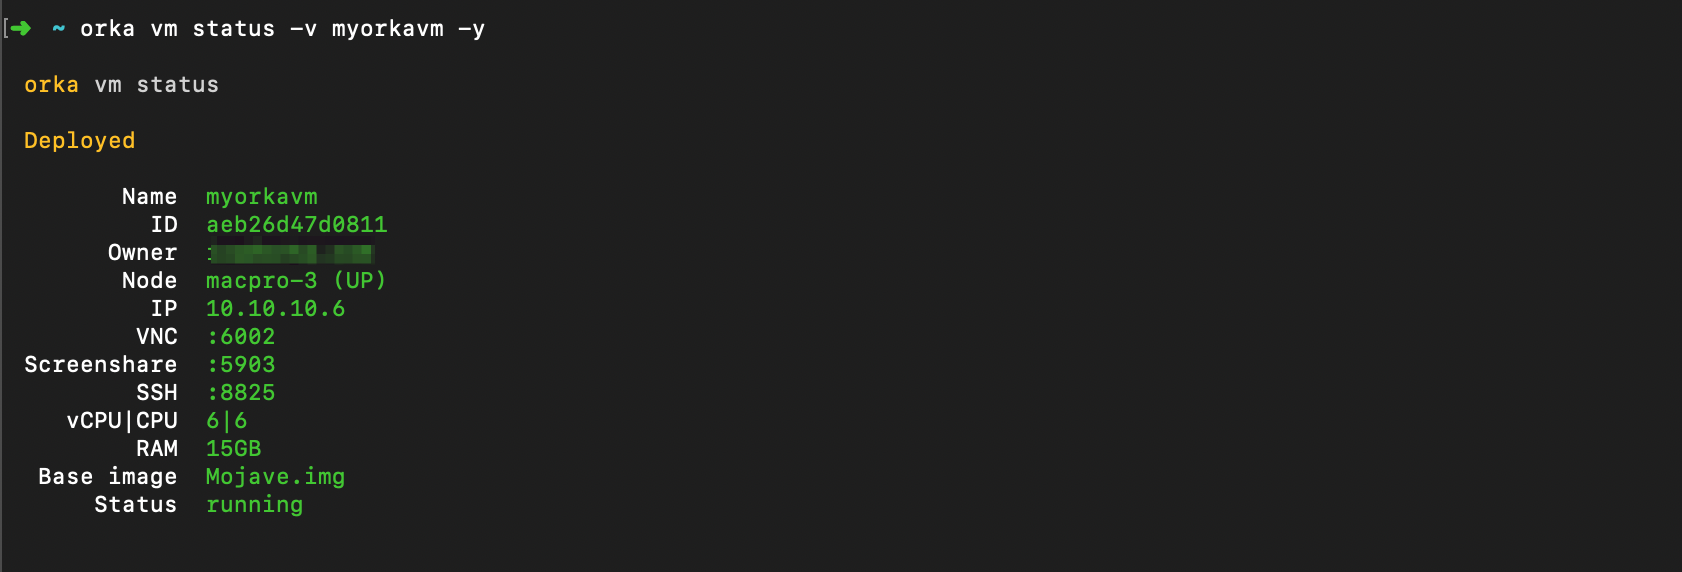
If the VNC is shown as :N/A, the VNC Console has been disabled during the deployment of the VM and you will not be able to use VNC to connect to it. You need to redeploy the VM and enable the VNC Console during deployment.
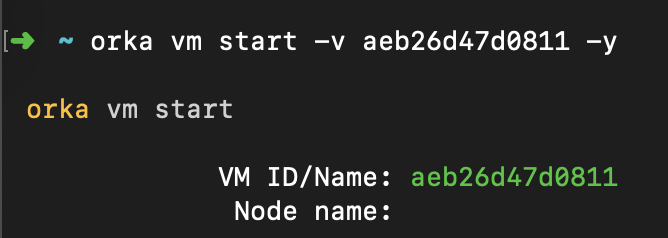
If the VM Status is stopped, you need to power the VM back on:
orka vm start -v <VM_ID> -y
Replace <VM ID> with the ID of your VM as listed by orka vm status.
2a. Connect via VNC using a third-party VNC client
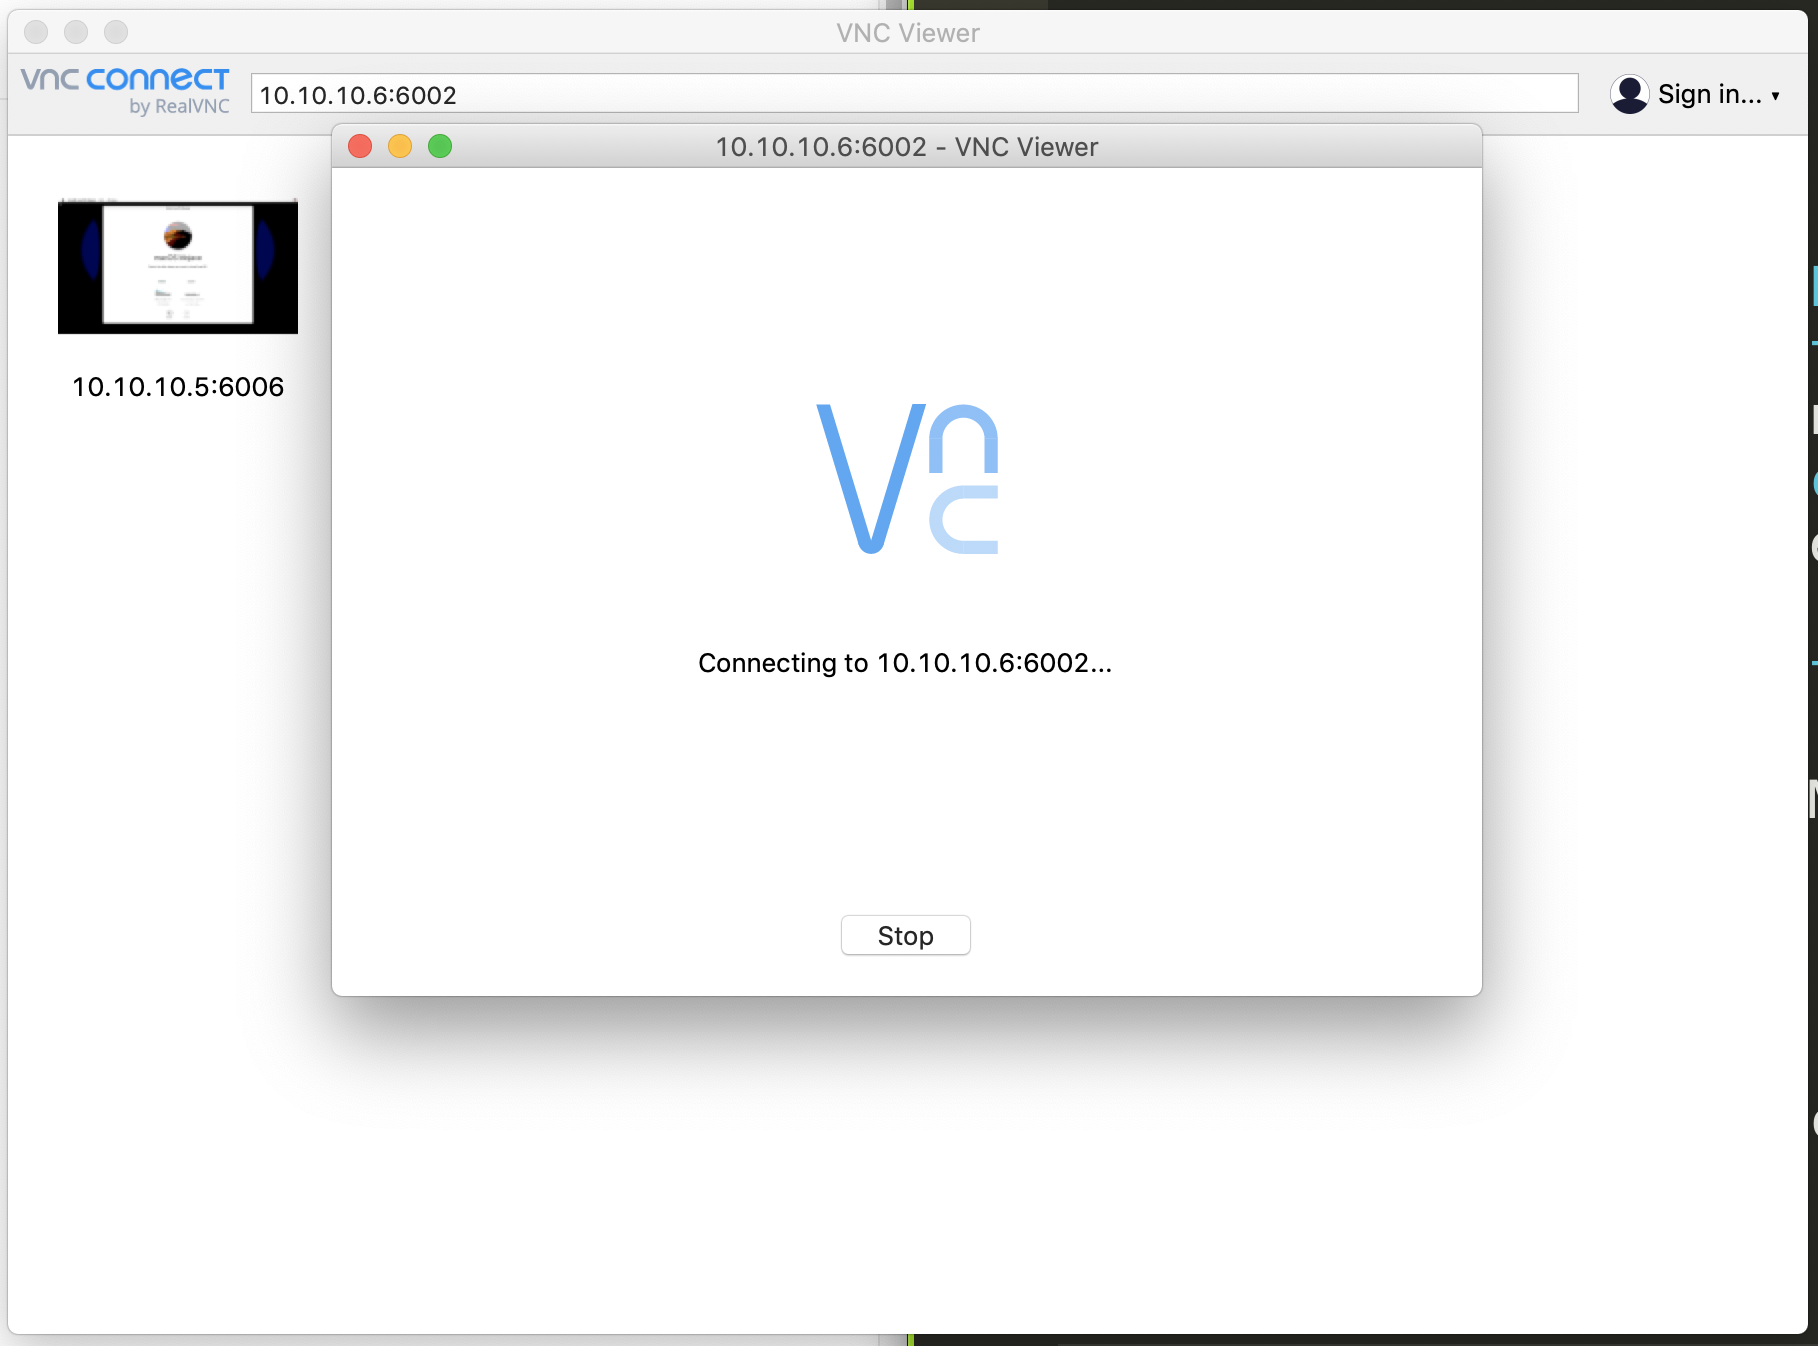
Launch your VNC client and provide the VM's IP and VNC port.
When the connection is established, follow the OS prompts to complete the OS setup, or log in with your VM credentials.
2b. Connect via VNC using Apple Screen Sharing
Using Apple Screen Sharing?
Make sure that Screen Sharing on the VM is already enabled (on the image or during a previous VNC session).
You can enable this setting from System Preferences > Sharing > Screen Sharing.
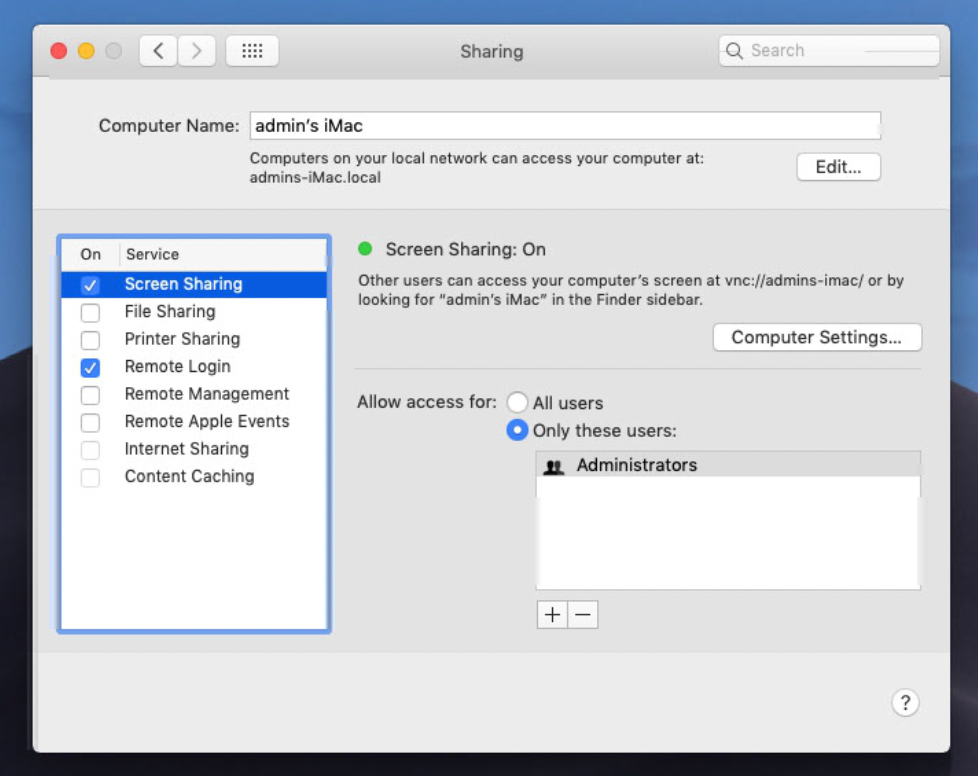
If Screen Sharing on the VM is already enabled, you can use Finder on your macOS to connect to the VM.
- Launch Finder on your local macOS machine.
- Press
Cmd+Kto open the Connect to Server interface. - Enter the VM's IP and Screenshare port in the following format:
vnc://<VM-IP>:<SCREENSHARE-PORT>. For example:vnc://10.10.10.6:5903
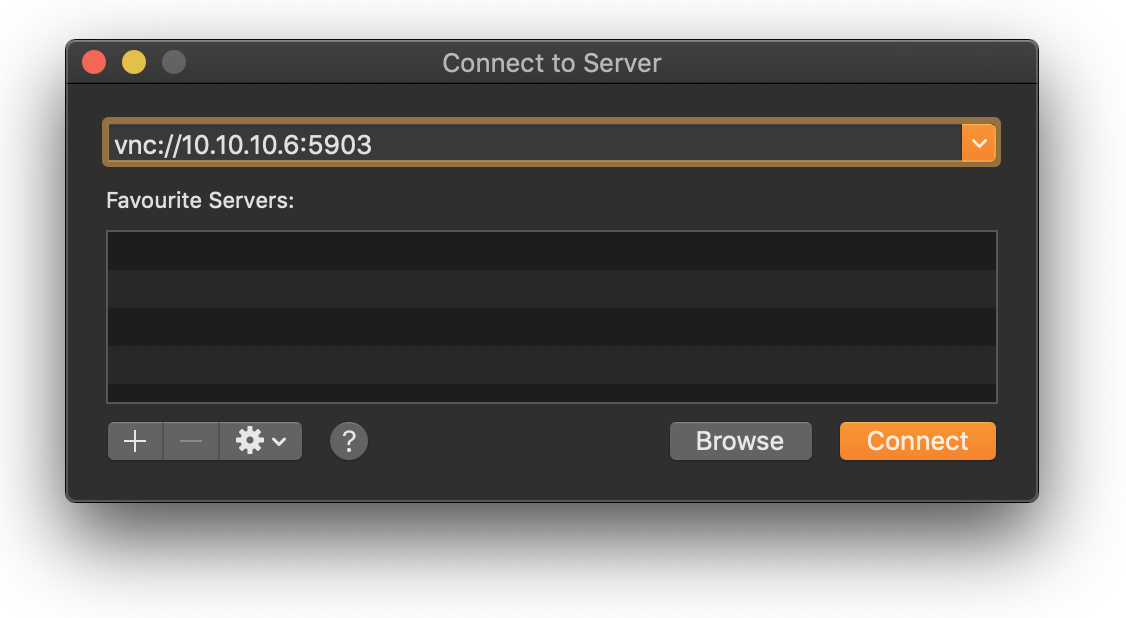
- Click Connect. If prompted, provide the login credentials for the VM.
3. (Optional) Save your changes
If you made changes to your VM that you want to reuse when deploying other VMs, you can commit the changes to an existing base image or save them to a new base image.
Note that orka image commit requires that the image is not in use by other VMs.
orka image commit -v <VM_ID> -y

OR

orka image save -v <VM_ID> -b <IMAGE.img> -y
For more information, see Create or update a base image from a deployed VM.
Updated almost 2 years ago
